If you’ve ever struggled to push a wheelbarrow through a muddy garden or noticed a grinding, squeaking noise coming from the wheel, the culprit is likely hidden inside the hub: the bearing. While metal bearings are the traditional standard, plastic wheelbarrow bearings are rapidly gaining popularity for their durability in wet conditions and low maintenance requirements.
Whether you are looking to upgrade your current setup or simply replace a broken part, understanding the specific advantages of plastic bearings—and how to install them—can save you time and money. This guide covers everything you need to know about plastic wheelbarrow bearings, from how they compare to steel to a step-by-step replacement guide.
What Are Plastic Wheelbarrow Bearings?
When we talk about “plastic” bearings in the context of wheelbarrows, we are usually referring to one of two things:
- Polymer Ball Bearings: These function like standard metal ball bearings but are made from high-performance plastics (like acetal or polypropylene) with glass or stainless steel balls.
- Nylon or Plastic Bushings: These are solid sleeves without moving balls. They act as a friction barrier between the axle and the wheel hub.
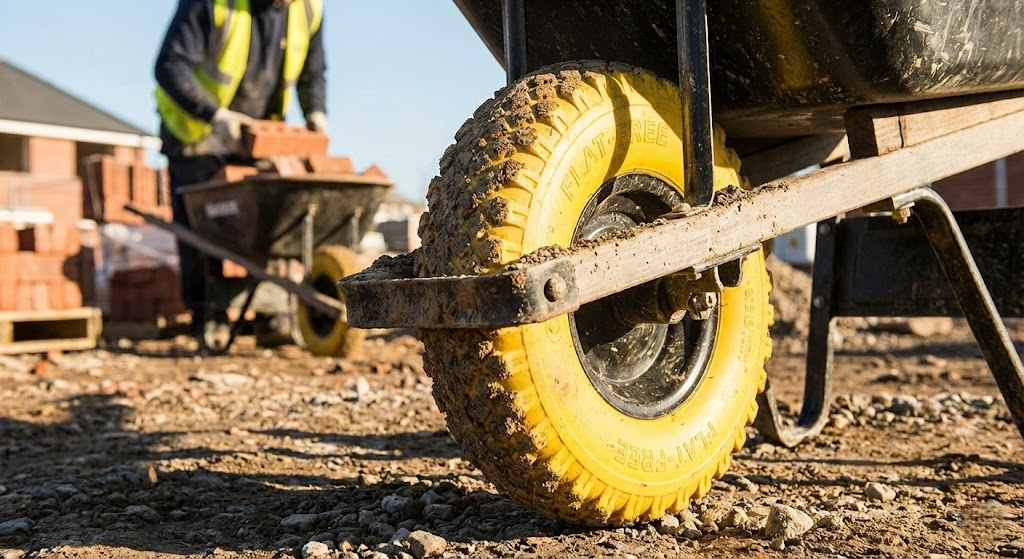
Unlike traditional metal bearings, which rely on grease and can rust into a seized mess if left out in the rain, plastic bearings are self-lubricating and completely immune to rust. This makes them an excellent choice for gardening, landscaping, and construction work where water, mud, and chemicals are constant factors.
Plastic vs. Metal Bearings: Which Is Better?
Choosing between plastic and metal depends largely on your environment and workload. Here is how they stack up:
The Case for Plastic Bearings
- Corrosion Resistance: This is the biggest selling point. Plastic cannot rust. If you work with corrosive materials like fertilizers, manure, or salt, or if you live in a coastal area, plastic bearings will outlast metal ones significantly.
- Low Maintenance: Plastic bearings are often “fit and forget.” They are self-lubricating, meaning you don’t need to constantly apply grease to keep them rolling smoothly.
- Wash-Down Friendly: You can hose down your wheelbarrow after a messy job without worrying that water will penetrate the bearing and cause oxidation.
- Quiet Operation: Polymer bearings tend to run quieter than metal ones, absorbing more vibration and shock from uneven terrain.
The Case for Metal Bearings
- Load Capacity: For extremely heavy industrial loads (like concrete or heavy stone), high-grade steel bearings generally offer a higher static load capacity.
- Heat Tolerance: While rare in wheelbarrow applications, metal can withstand higher heat generated by high-speed friction (though this is less relevant for manual walking speeds).
Buying Guide: How to Choose the Right Replacement
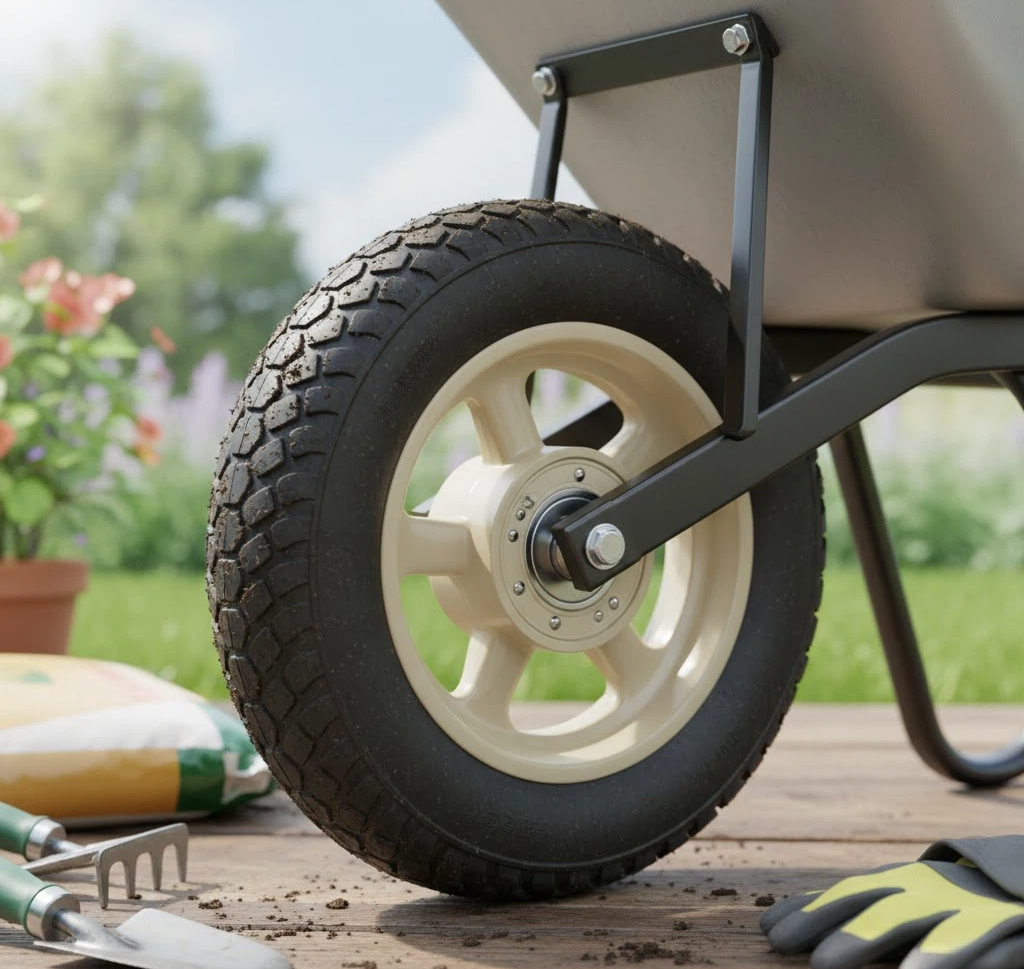
Before you click “buy” on a new set of plastic bearings, you need to ensure they will fit your specific wheelbarrow wheel. Here are the three critical measurements you need:
- Inside Diameter (ID): This is the size of the hole where the axle goes through. The most common axle sizes for wheelbarrows are 5/8 inch and 3/4 inch.
- Outside Diameter (OD): This is the size of the bearing that fits into the wheel hub. Common sizes include 1-3/8 inch or 1-5/8 inch.
- Hub Length: While the bearing itself has a width, you need to make sure the wheel hub (the center part of the tire rim) is the right width for your axle, or you may need spacers.
Pro Tip: If you are unsure of the size, remove the old bearing and look for a part number stamped on the side (e.g., “6203” or “R10”). If the number is worn off, use a caliper to measure the axle diameter.
Step-by-Step: How to Replace a Plastic Wheelbarrow Bearing
Replacing a wheelbarrow bearing is a simple DIY task that takes about 15–20 minutes.
Tools You Will Need:
- Adjustable wrench or socket set
- Flathead screwdriver (or a long punch)
- Hammer or rubber mallet
- Block of wood
- New plastic bearings
Step 1: Remove the Wheel
Flip your wheelbarrow upside down so it is stable. Locate the brackets holding the axle to the frame. Using your wrench, loosen and remove the bolts securing the axle brackets. Lift the wheel and axle free from the barrow.
Step 2: Remove the Old Bearings
Slide the axle out of the wheel. You should now see the bearings pressed into the center of the wheel on both sides. To remove them, take your screwdriver or punch and insert it through the center hole from one side until it rests against the back of the opposite bearing. Tap the handle of the screwdriver gently with a hammer, working around the edge of the bearing until it pops out. Repeat for the other side.
Step 3: Clean the Hub
Use a rag to wipe out any old grease, dirt, or rust flakes from inside the wheel hub. A clean surface ensures the new plastic bearing seats perfectly.
Step 4: Install the New Plastic Bearings
Place the new plastic bearing over the hub opening. Do not hit the bearing directly with a metal hammer, as this can crack the plastic. Instead, place a flat block of wood over the bearing and hammer the wood. This distributes the force evenly. Tap it until the bearing is flush with the rim of the wheel. Flip the wheel over and repeat for the second bearing.
Step 5: Reassemble
Slide the axle back through the new bearings. Position the wheel back onto the wheelbarrow frame, reattach the brackets, and tighten the bolts securely. Give the wheel a spin—it should move freely and quietly.
Conclusion
Switching to plastic wheelbarrow bearings is a smart upgrade for anyone tired of dealing with rusty, squeaky wheels. They offer superior resistance to water and chemicals, require zero grease, and provide a smooth ride for general gardening and landscaping tasks. By taking a few simple measurements and following the installation steps above, you can extend the life of your wheelbarrow and make your next haul significantly easier.